Archive
Android Terrain Test 2 : Clouds
So I again went playing with OpenGL ES 2 on Android, this time I added clouds to the terrain:
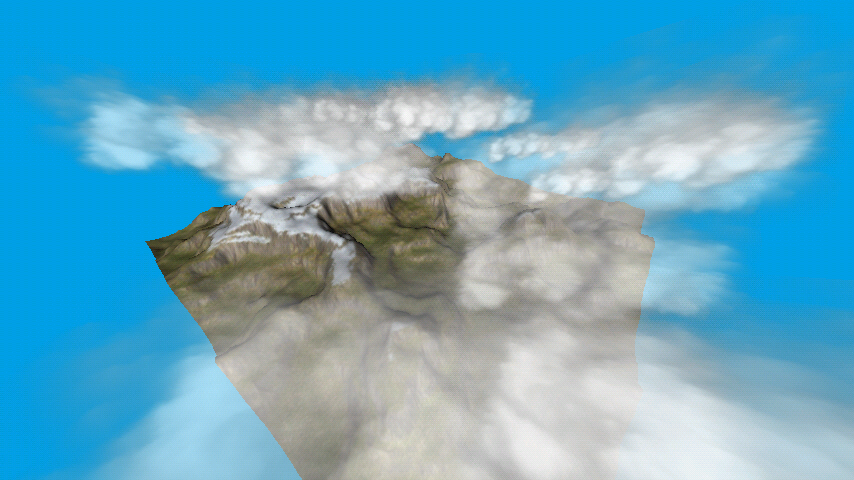
Not only that but I also learned new things about OpenGL ES 2 and fixed some deadly bugs in my previous code and reorganized the code in a better way.
Here are some screenshots showing the results of using different textures and different Read more…
MapApp7 : Creating MapView in XML
Hi :), welcome to the 7th part of my tutorial on how to create offline\online map app for android.
Series outline:
- Series aim.
- Theory you need to know.
- App design.
- Writing a TilesManager.
- Writing a TilesProvider.
- Seeing results with MapView.
- Adding web support
- Creating MapView in XML
______________________________________
So once again it’s an unplanned tutorial and it’s about maps 😀 .
The thing is that I got a number of comments asking about how to create the mapView in XML instead of creating it in java code, what we’ll achieve here is:
- Make the mapView creatable from XML.
- Assign a zoom level to the mapView in XML.
- Adding a position marker (drawable) to the mapView from XML.
- Add ZoomControls to the layout containing the mapView in XML.
Here’s how the final result should look like:
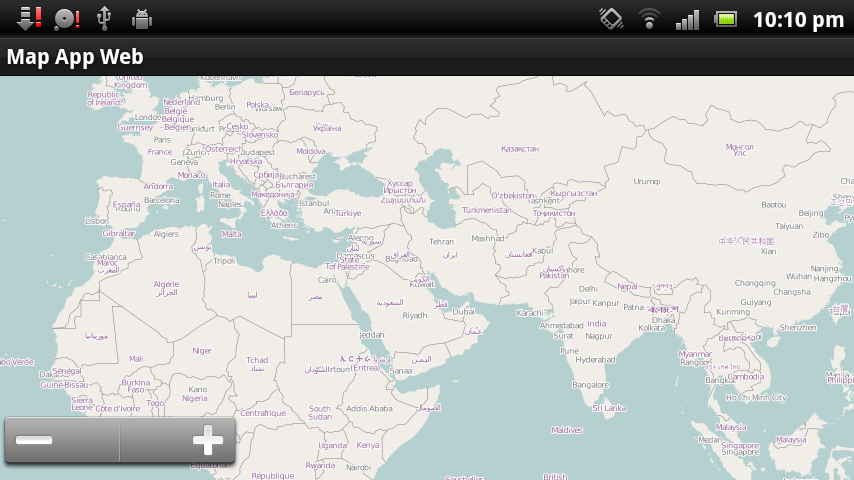
MapApp with ZoomControls
And just a note before you continue reading: you can add the mapView in XML like any other view, one difference though is that you cannot rely on using wrap_content in the view, since there’s nothing to wrap (something like text in a button for example) but this is not end of the world, you can either using fill_parent or use 0dip with android:layout_weight, only then the mapView will play nicely with other views :).
So either use a RelativeLayout and put your mapView and other views in it, or use LinearLayout and supply weight values for your views.
So if you’re still reading this please download the source code (along with the empty database) from MapApp 6 : Web Support since I’ll be building on the code from that tutorial. Just please remember to put the database World.sqlitedb in the folder /mapapp/ on the sdcard.
The steps we will have to do are Read more…


